Hardware wallets, software wallets, paper wallets, exchange wallets... the list of storage options for your crypto goes on and on.
Deciding which one to use and setting it up can be quite confusing—it's like: "hey, I just want to store, receive, and send crypto securely; why do I need to learn what keys are or what ERC-20 is?"
We understand how confusing wallets can be, which is why we've put together this guide. In this guide, we'll walk you through exchange wallets, software wallets, and desktop wallets in this guide, using the Binance exchange wallet, Metamask, and the Exodus desktop wallet respectively.
Let's get started.
Binance exchange wallet
Let's begin our wallet tour with the built-in wallet of the world's largest crypto exchange, Binance. Although we're using Binance as an example here, wallets on other exchanges work in a very similar manner. Let's do a walkthrough of the setup process and briefly discuss how to use it.
How to set up and use the Binance wallet
Setting up a Binance wallet is very simple. We'll be using their web app running in Google Chrome browser on a desktop to explain here, but things work pretty much the same across different clients and platforms. Here are the steps you need to follow to use the Binance wallet:
Get a wallet
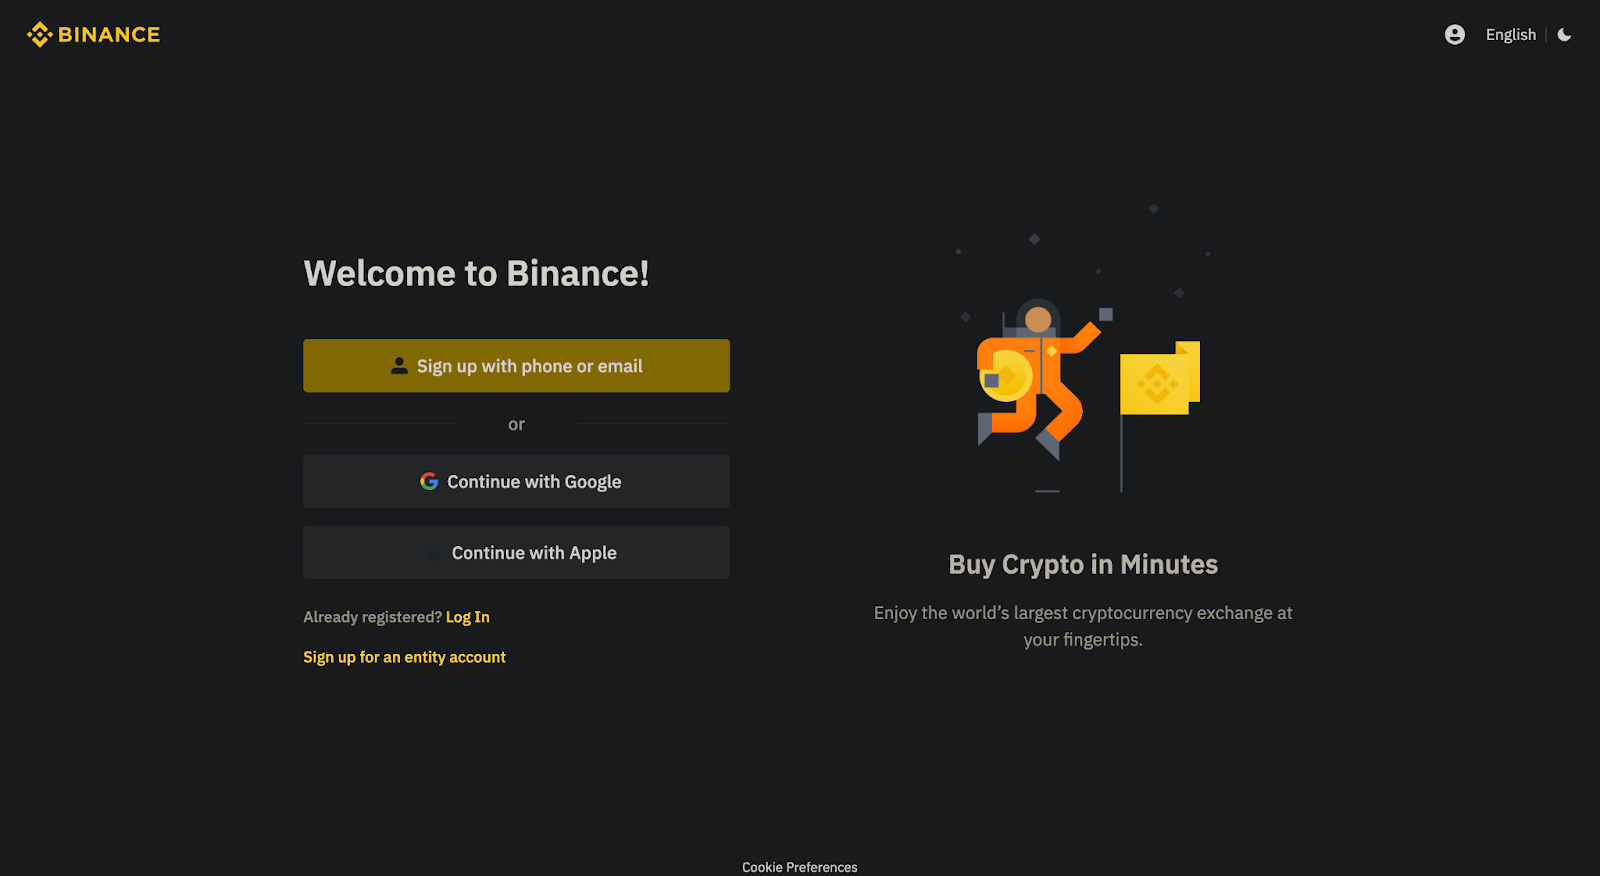
To get a wallet, all you need to do is open an account. When you open an account, a wallet attached to that account will automatically be created for you.
Once logged in, you need to visit the "wallets" page to view all your wallets — spot, funding, margin trading and so on. You can do so by clicking the "Overview" option from the "Wallet" dropdown in the top tab of your dashboard.
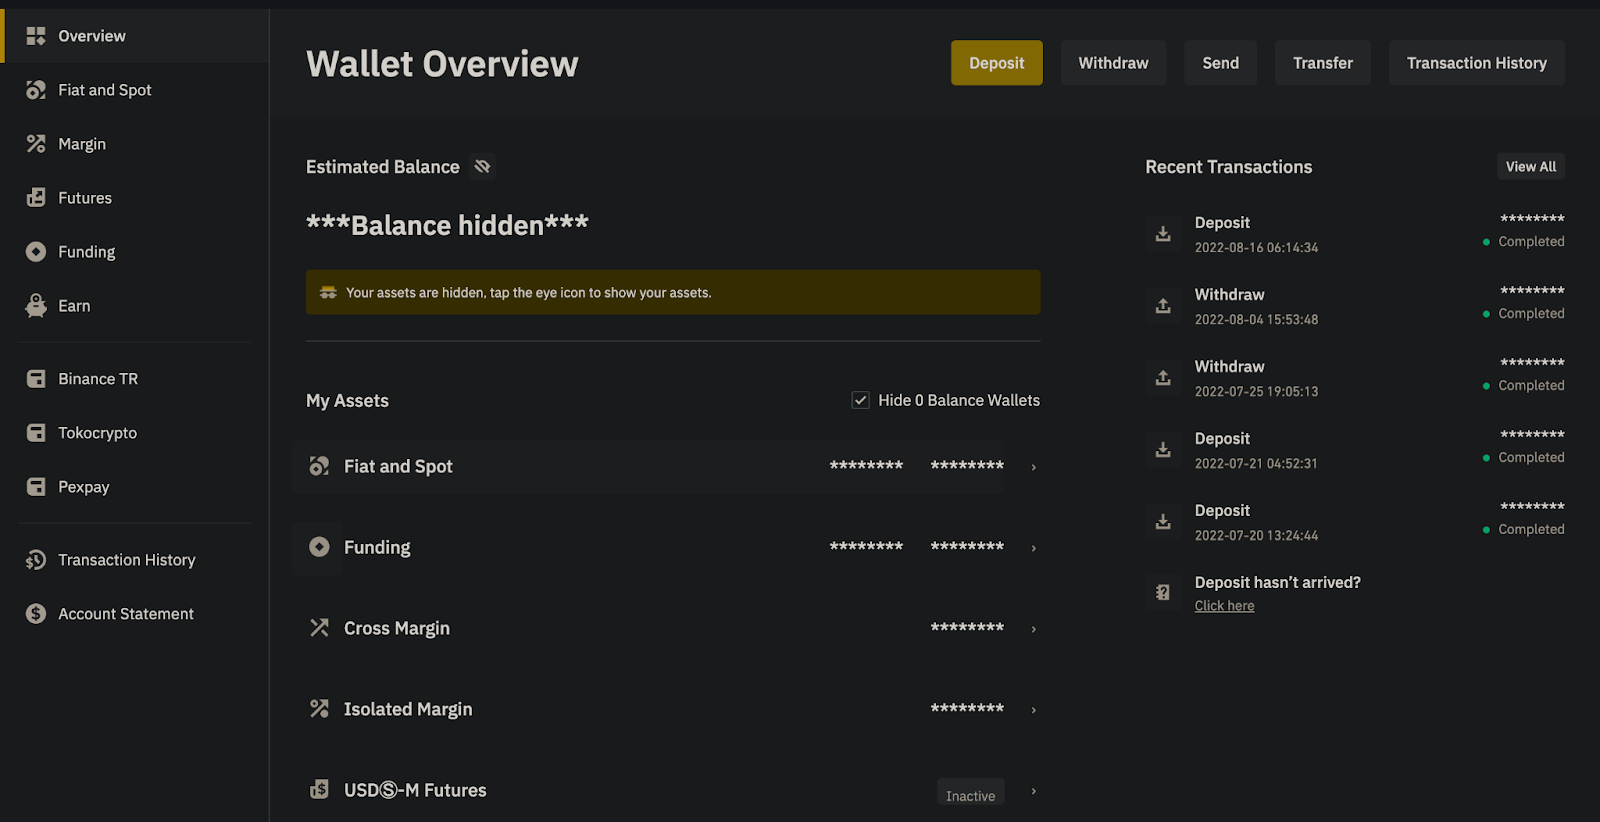
On the wallets page, you should now see details about your wallets, such as your "estimated balance," --- the estimated total Bitcoin and dollar value of the cryptocurrencies held in them, and a breakdown of the estimated balances of each wallet.
Transfer between wallets
Now that you're getting familiar with your wallets, you should learn how to transfer crypto between them.
Mastering this skill will save you countless hours of wondering where your crypto went, or why you can't see your funds on a certain page. You don't want to be the guy that contacts customer support in search of what was never lost—no you don't!
To transfer crypto between your wallets, click the "Transfer" button on the overview page to open the transfer tab. Via the tab, you can select any of your different wallets and instantly transfer your crypto between them at no cost (of course it's free!).
Here’s a cheat sheet of what the different wallets are for:
- Fiat and Spot - Use this wallet for spot trading in the crypto markets.
- Funding - This wallet is where your crypto gets stored when you first fund your wallet.
- Margin & futures wallets - These wallets are for different types of margin trading with leverage.
Send or receive crypto
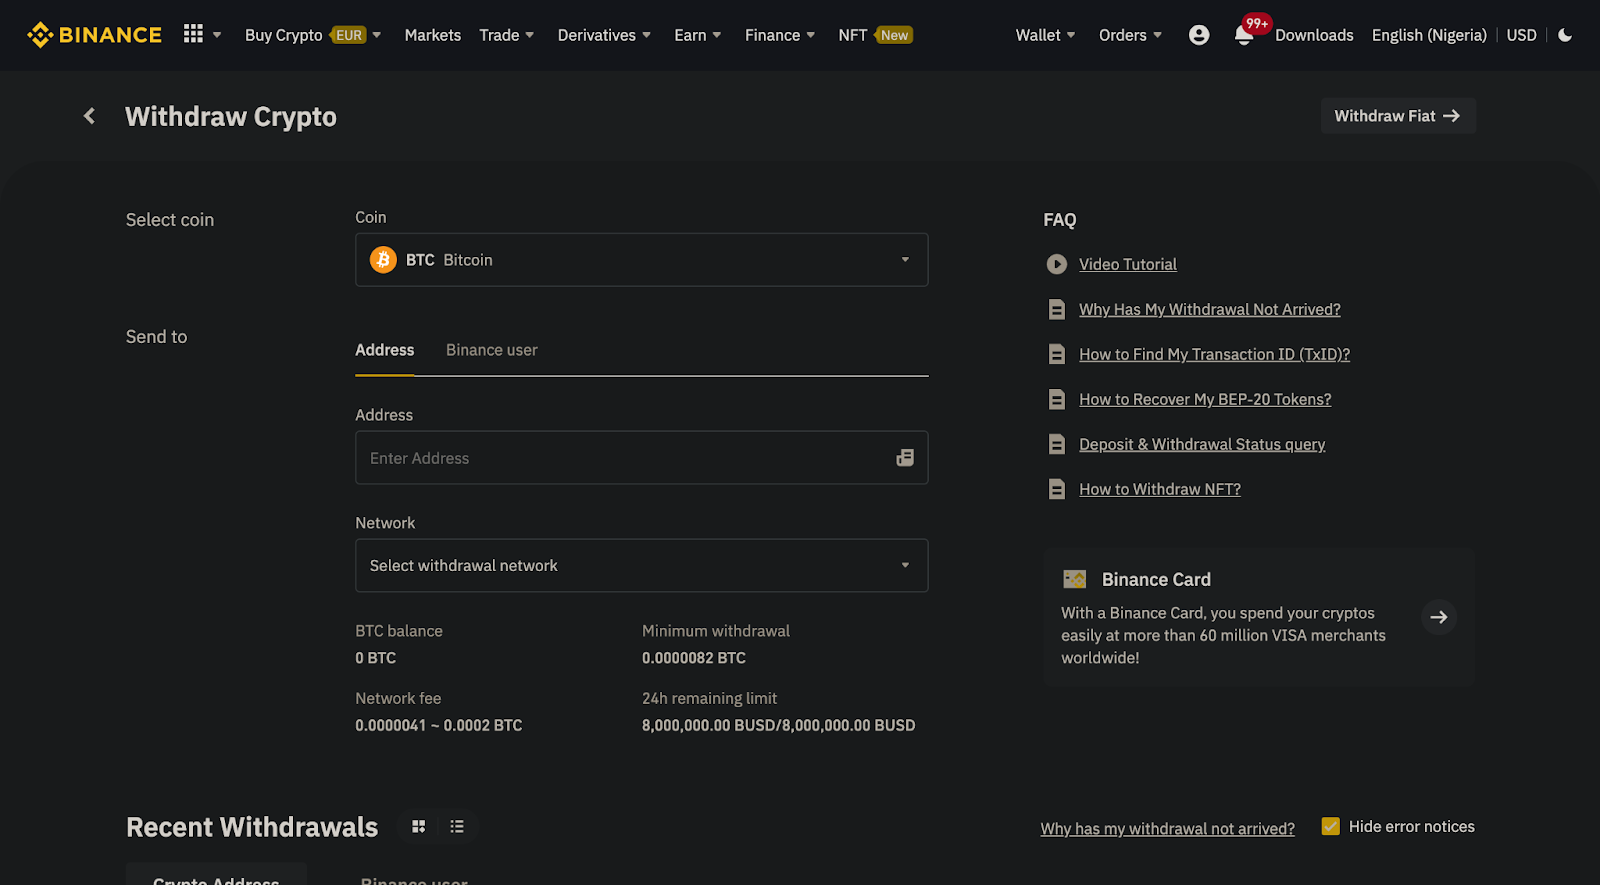
To send crypto, use the "withdraw" button right next to the big yellow "deposit" button on the overview page (of course, it's the colored one). You'll be taken to the "withdraw" page, where you can enter an address to send crypto to.
To receive crypto in your Binance wallet, click the to get to the "deposit" page. Enter the crypto you'd like to deposit and select the right blockchain network to reveal the wallet address the crypto should be sent to.
Although exchange wallets are a perfect way to start your crypto journey, you’ll find that to truly interact with Web3 and all of its applications, you’ll need to explore other options. A software wallet offers the smoothest transition curve — and Metamask is the most popular software wallet out there.
How to setup and use Metamask
On desktop devices, Metamask works as a browser extension—so installing it just requires a few clicks. On mobile devices, it has a dedicated app you can download from your store. Here's how to install and use the Metamask extension on desktop:
Install Metamask
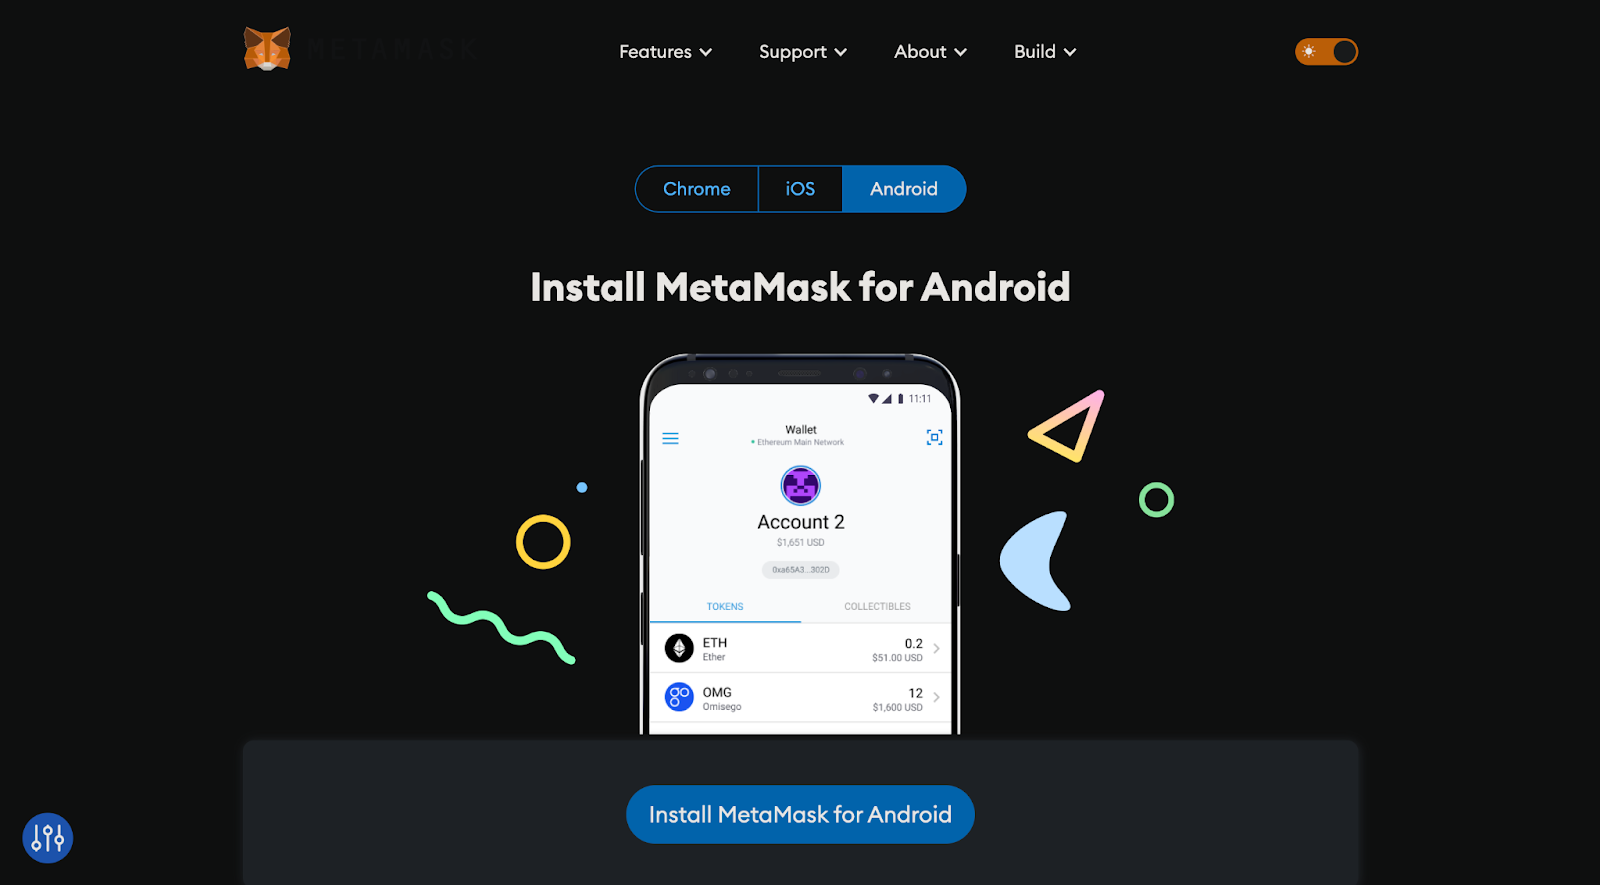
First, you need to add Metamask to your browser by installing the extension through your browser's extension store. You can do that via their "download" page. At the time of writing, Metamask works only in Google Chrome, Firefox, Brave, and Microsoft Edge—so you'll need to use one of those.
Get a wallet
After installing Metamask, open the extension and click the "get started" button. Click "Create a wallet" and follow the prompts to get a new Metamask wallet—just be sure to keep the seed phrase somewhere safe and back it up!
Send or receive crypto
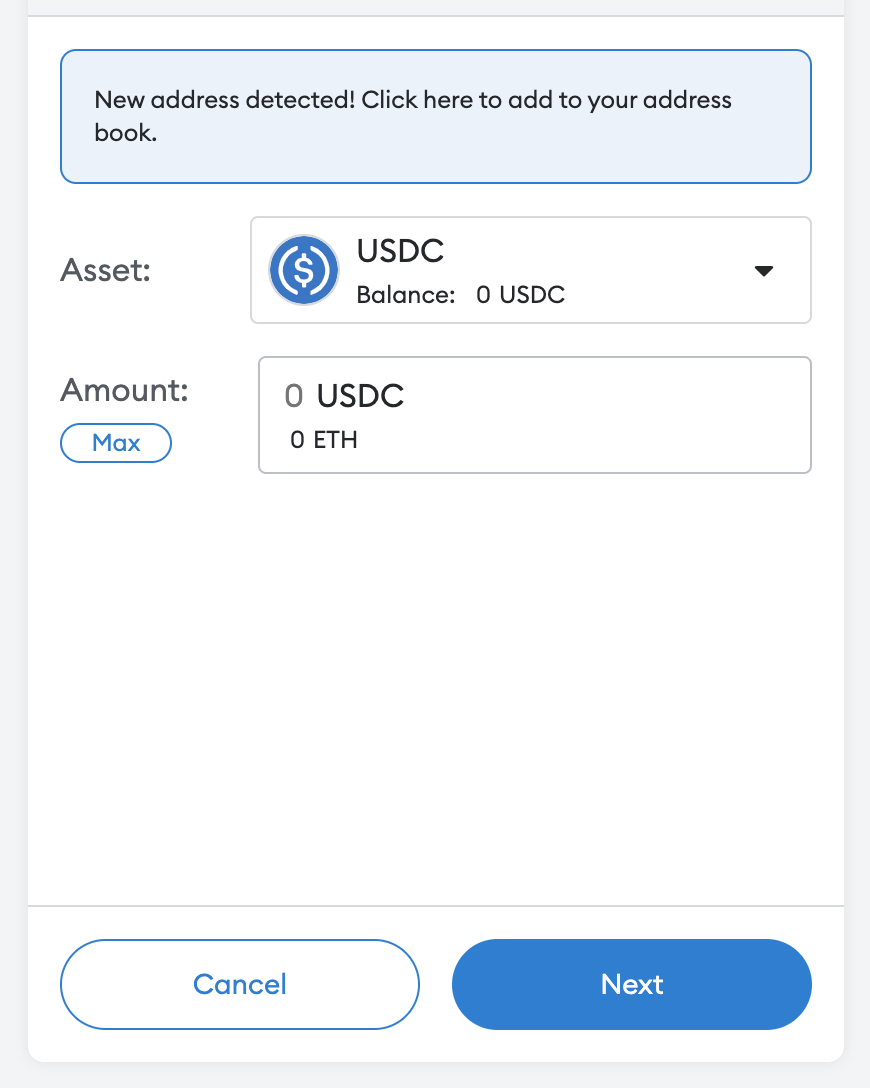
Sending or receiving crypto via Metamask is a piece of cake! To send, just open the extension and click the "send" button to begin. Enter the address of the wallet you'd like to send to, fill in a bunch of other stuff like the amount you'd like to send in the form pictured below, click "Next" and then "Confirm" on the next page to send the transaction after confirming its details.
To receive crypto, access your account details through the options menu (3 dots) just beneath the header and copy your account address (or just click the "copy to clipboard" button to the left of the options menu). The copied address is your Metamask wallet address, and you can use it to receive the right kind of crypto.
Apart from Metamask, you can also use a desktop wallet for that added layer of security.
How to use the Exodus desktop wallet
Exodus is a popular multi-currency desktop wallet that you can set up and use in a few minutes. Here's how to download and use Exodus:
Install the app on your desktop
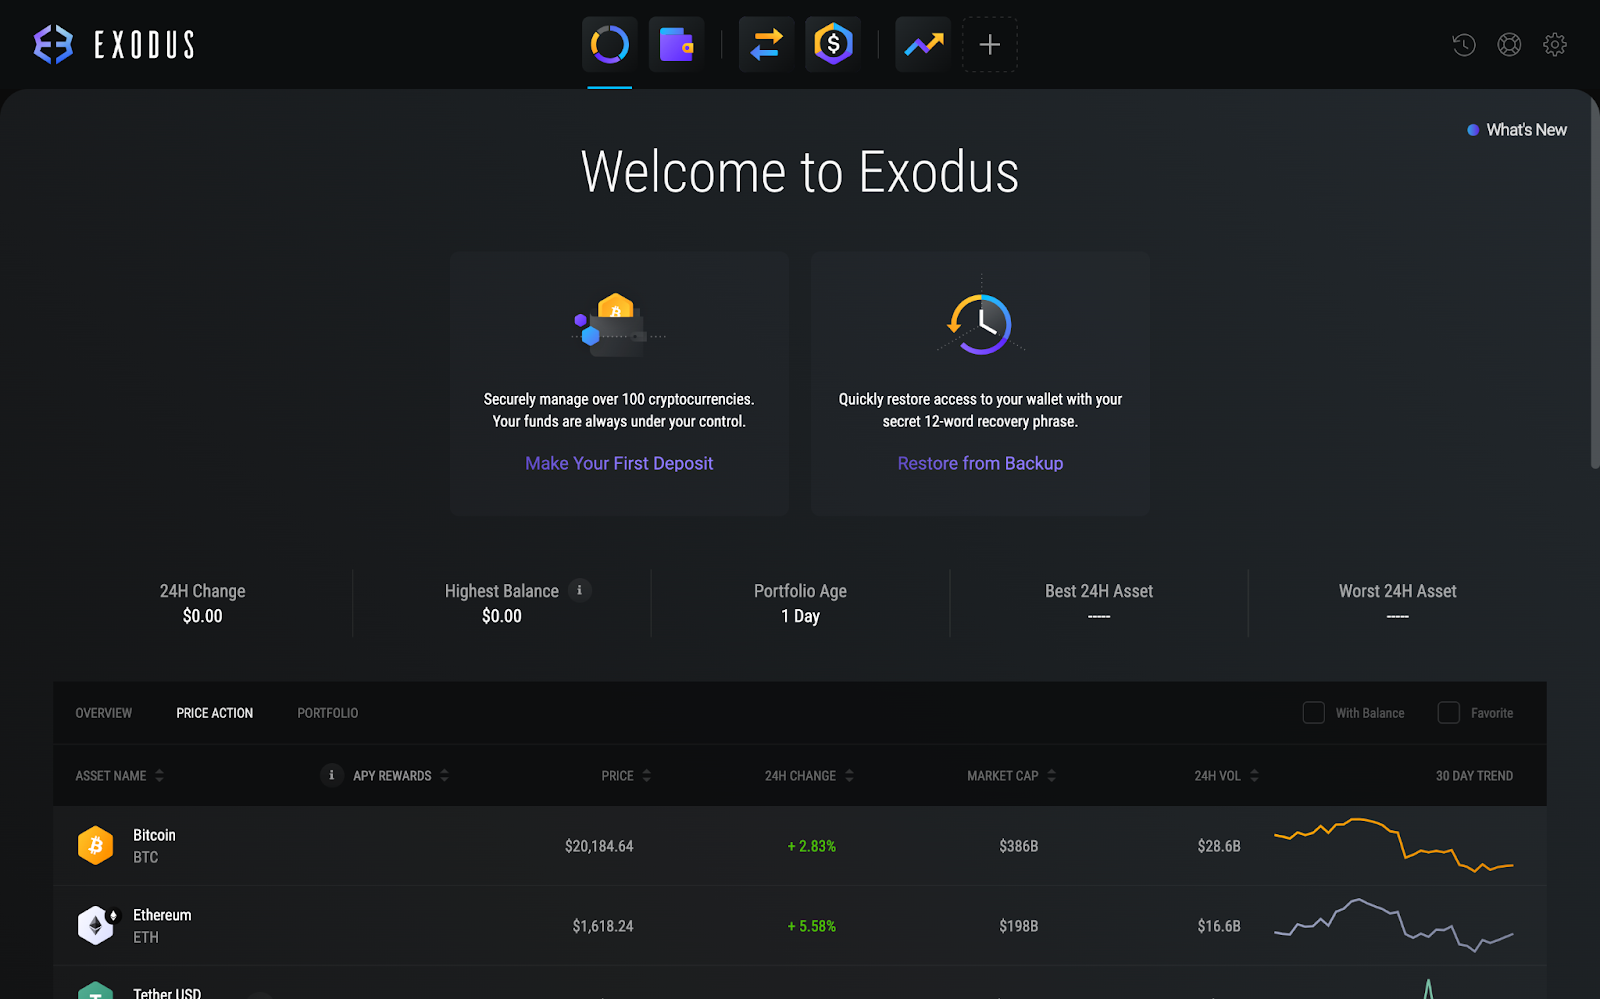
On your computer, visit the official Exodus website to download the appropriate app for your operating system and then install the app after downloading. Once installed, open the app and you should see a screen that looks similar to the one below (this is actually your "portfolio" page). A wallet is automatically created for you upon opening the app.
Send or receive crypto
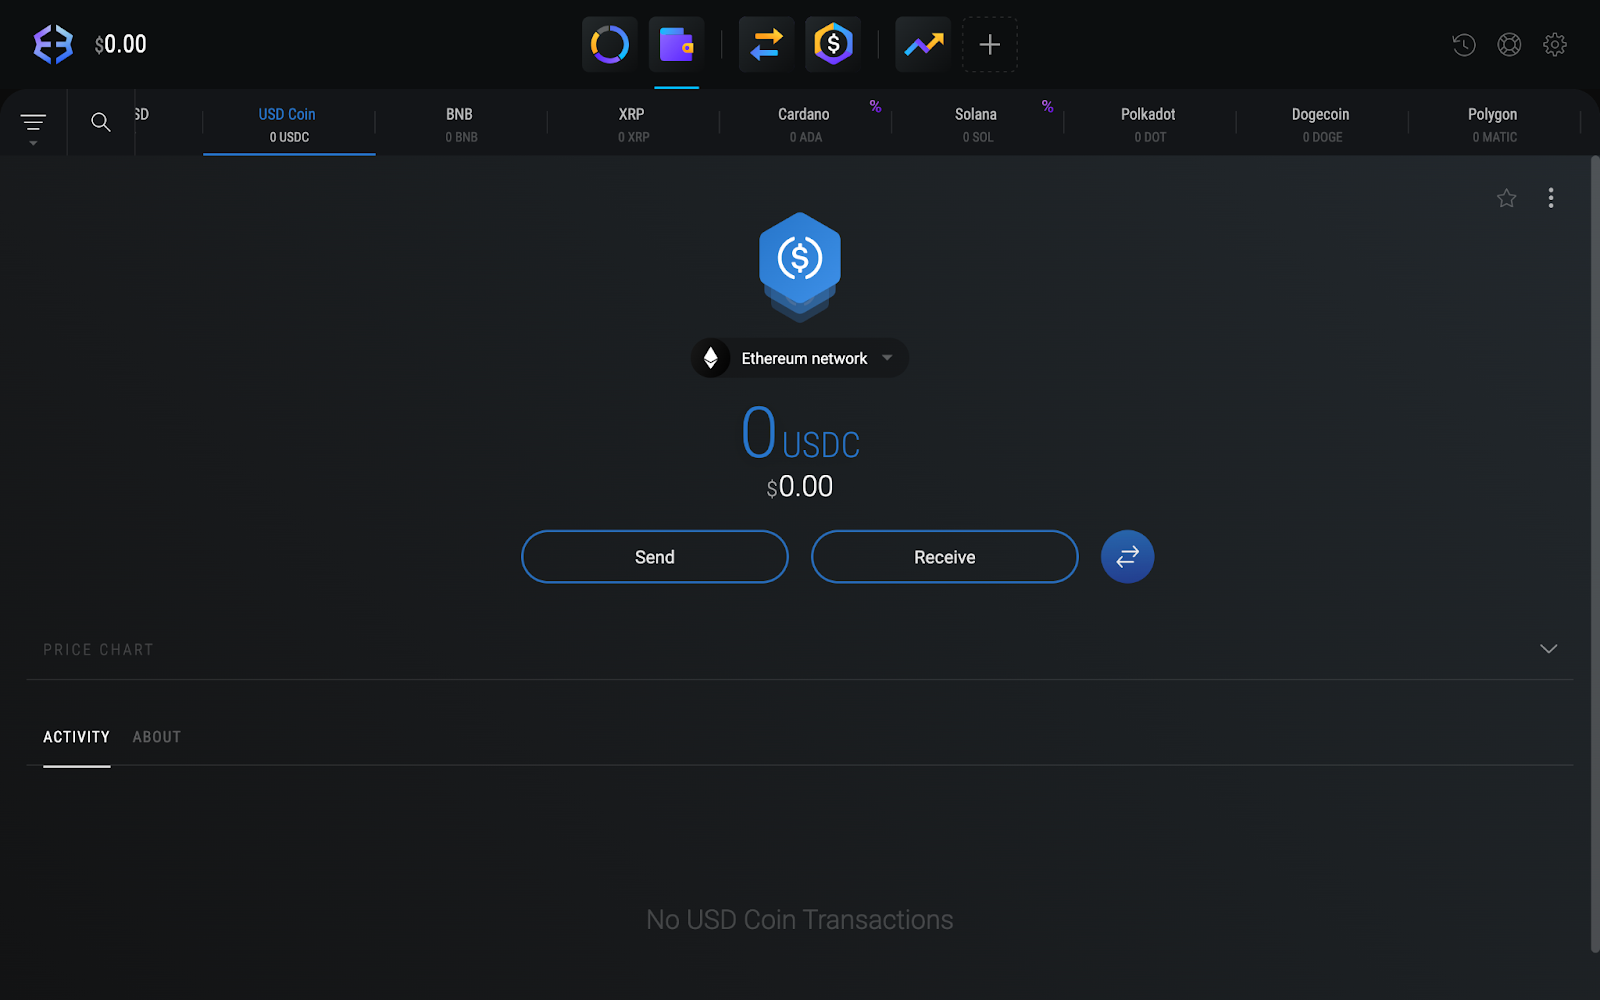
To send or receive crypto via Exodus, click the wallet icon in the top header to get to the "wallets" page. You can then choose between several different cryptocurrencies using the sliding menu beneath the header.
Use the "send" button to send crypto after filling in the necessary details, and the "receive" button to reveal your address for the selected cryptocurrency.
Ready to start your crypto journey?
So, there you have it! Of course, your wallet options aren't limited to the ones mentioned. Hardware wallets, for instance, are reputed to be the safest way to store crypto. They can be a challenge to use, though, so here's a great guide to follow if you'd like to use one or just want to learn more about them.
Also, be careful to back up your passwords and private keys in case you lose or forget them. We hope this has made using crypto wallets a lot less confusing—stay safe out there!
Lipsa Das is the founder of Spiritwish, and you can find her on Twitter, LinkedIn, and Instagram.
Of course, don't forget to subscribe to the weekly Hedgehog newsletter!